Making Pickles As Gifts: Labels, Color & Veggie Design Are A Must {recipe}
Hands-down the best gifts are handmade and preferably edible. Who doesn’t love a handmade jar of pickles? And when you place the veggies “just so” in the jar so their colors sync, add a snazzy label you designed in 10-seconds on Canva, and then get it perfectly printed by these guys? The best. Winning.
If you grow your own veggies or have a crazy goldmine of free ones come your way, then water-bath canning is a great way to make a big bunch of jars that will last for a year or more. But the downside is that canning pickles makes them prone to being soft and mushy. I personally prefer this recipe for crunchy, flavorful raw pickles, aka “refrigerator pickles”. If you follow the correct ratio of vinegar-water-salt, these will last for at least a few months in your refrigerator.

Love Sarah’s gorgeous pickles!
THE BEST RAW PICKLE RECIPE
This recipe makes one 8-ounce jar, or two 4-oz jars. You can double, triple, or quadruple this recipe to make more jars!
INGREDIENTS:
3 medium sized veggies, such as sweet peppers, cucumbers, carrots, green beans, red onions, beets, shallots, cauliflower, radishes, or hot peppers!
2 Garlic cloves, peeled (optional)
1/2 Cup apple cider vinegar (white wine vinegar works too)
1/2 Cup water
2 teaspoons salt
1 teaspoon sugar
2 teaspoons whole, unground spices (I like yellow mustard seed, green peppercorns, and whole coriander seeds or cumin)
OPTIONAL: add a stem or two of fresh herbs such as dill, tarragon, mint, sage, or parsley!
EQUIPMENT
1x 8-oz glass jar with lid that is heat safe, such as Ball or Kerr brand
1 Decorative label
1 Pot for cooking
1 Wooden or heat-safe cooking spoon
1 Sharp paring knife
SANITIZE JARS & LIDS:
You can wash them with soapy hot water or run them through the sanitize cycle in a dishwasher.
PREP VEGGIES:
Wash and trim ends of your veggies—cut them in any shape you want: circles, whole, wedges, sticks, minced, etc. If you want wedges or sticks, measure and cut them up so that they fit in jar with at least a pinky nail size bit of headspace, so the lid can fit on.
MAKE BRINE:
Combine vinegar, water, sugar and salt in a medium saucepan and bring to a light simmer. Stir to dissolve salt and turn off heat. This should only take a few minutes.
PACK JARS:
Using stainless-steel tongs, remove jars from water, and set on a layer of clean towels.
Evenly divide garlic, veggies, and spice mix in jars. If adding fresh herbs, pack them in there too.
Pack jars tightly with veggies—leaving 1/4 inch of space beneath the rim of the jar—so veggies stay in place.
Get creative! For example, use ombre shades of sweet peppers, or mix veggies up to create a cornucopia of shades and shapes.
Pour hot brine over veggies SO IT GOES ALL THE WAY TO THE TIPPY TOP of the jar, and place warm lid on jar; screw on band firmly without forcing.
Let cool for an hour or so on the counter before refrigerating.
Pickles are best eaten 48 or more hours after you make them so that the flavors can meld and infuse the veggies.
Keep refrigerated until they seem mushy or brine is discolored or cloudy, usually anywhere from 2 to 6 months. The less watery a veggie, the longer it will last! Carrots, radishes, cauliflower or string beans are all great options.
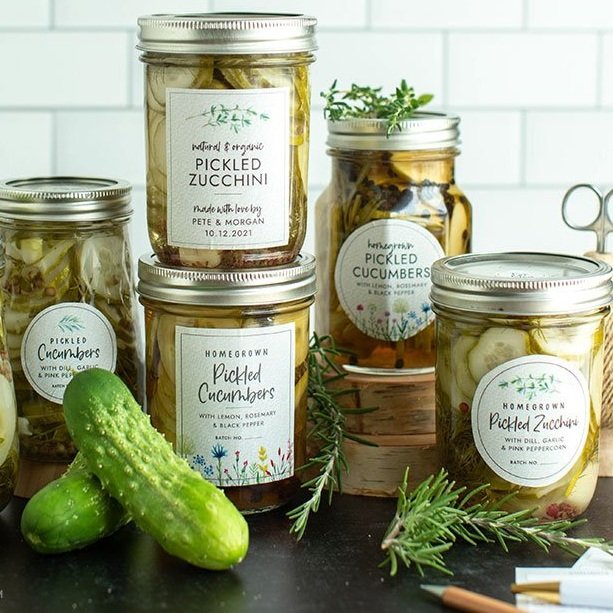
That’s it! It’s fun to use cool looking jars like these and a nice label if you are gifting them or bringing them to a dinner party. I like these custom labels, as their quality, customer service, and ship times are great. Plus, Sticker Mule sometimes throws in a free hot sauce with your order.